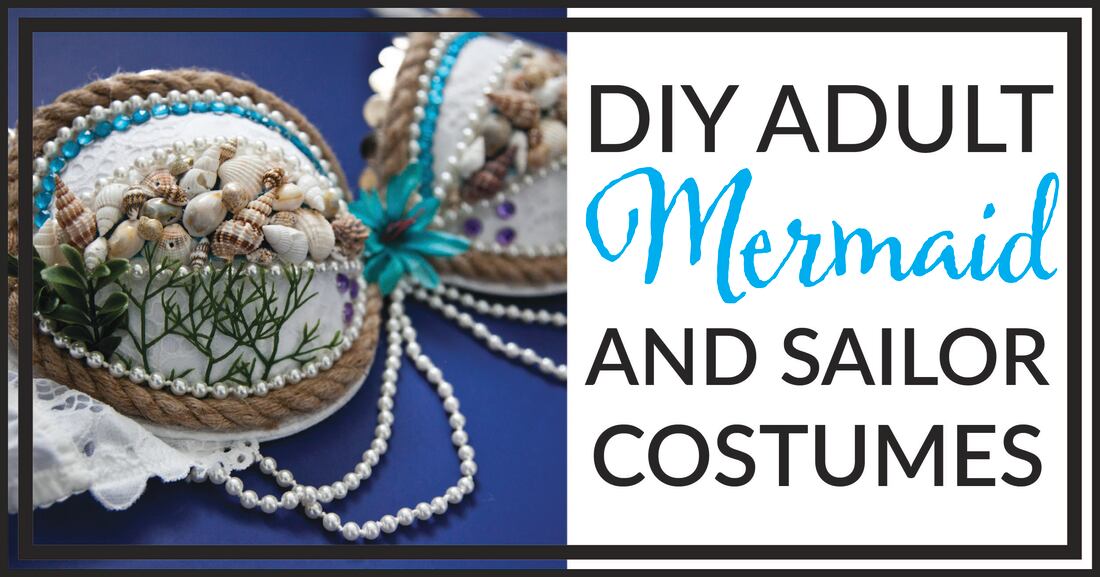
We’ve all heard the comments and seen the shirts: “I’d rather be a mermaid…” So, let's pretend for a night! Here’s how I created this costume from start to finish in just a weekend!
1. The Skirt
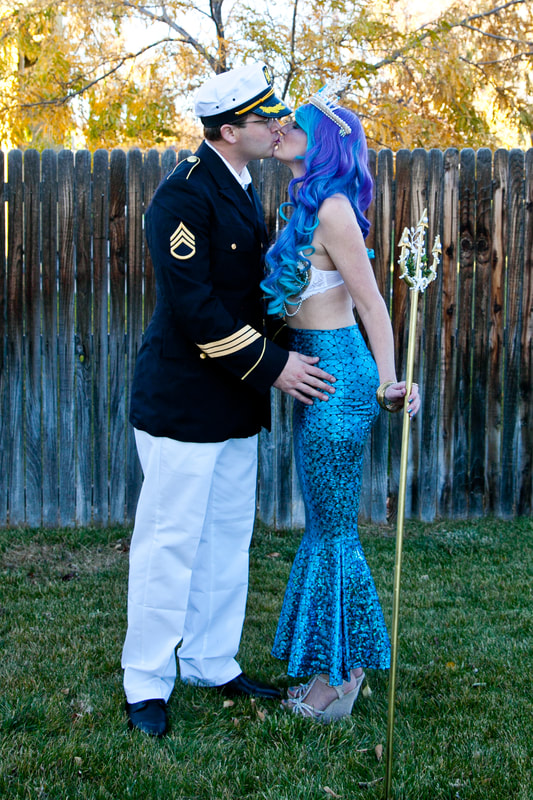
This skirt was the perfect find. I love the shimmer, and the fact that I could pull it up a little higher to make the costume a little more modest (it can be worn lower if you prefer). I highly recommend it! It’s tight, but pretty stretchy, so I could still get it over my hips. It is snug all the way past your knees, so just beware that you won’t be able to take large strides! For the love of a great costume and fun photos though, I didn’t mind! You can get it here:

2. the hair
I think the wig was pretty essential to the whole look. Obviously, I was going for a turquoise theme with a little purple thrown in here and there, so I was very set on finding the perfect turquoise wig (and had high hopes for some bonus purple highlights). This one made my dreams come true! Grab it here:
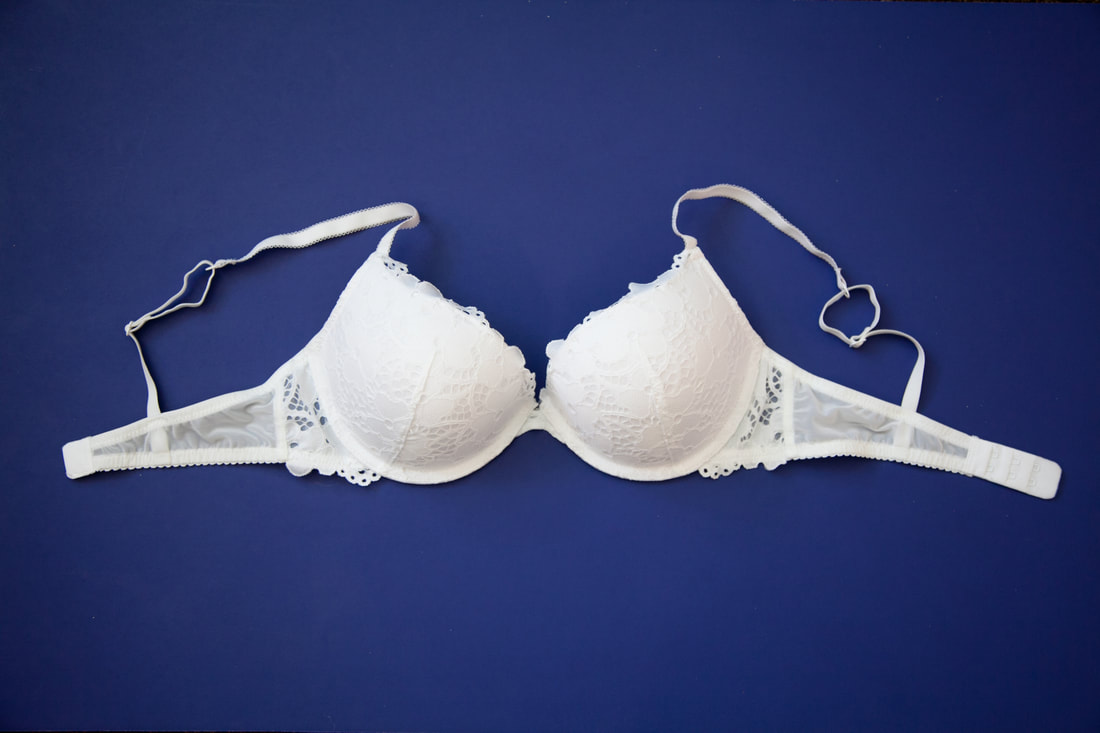
3. The top
The top looks difficult, but it’s really just a lot of gluing. You can take so many creative liberties with this and make it whatever you want! Grab pretty much any plain bra that you like and start decorating! I got mine from H&M and it was super cheap and comfortable.
The rope is from Michael’s, and I love the effect it gave it. Just cut to size and hot glue in place.
I bought a couple cheap long strings of pearls and cut them to fit the inside track of the rope, then hot-glued. Super simple! The gold "ruffles" on top are actually a ribbon I found at one of the craft stores. You can go so many directions with this, just look for one that’s a little on the stiff side, so that it stands up straight when you glue it on and it doesn’t flop over later. 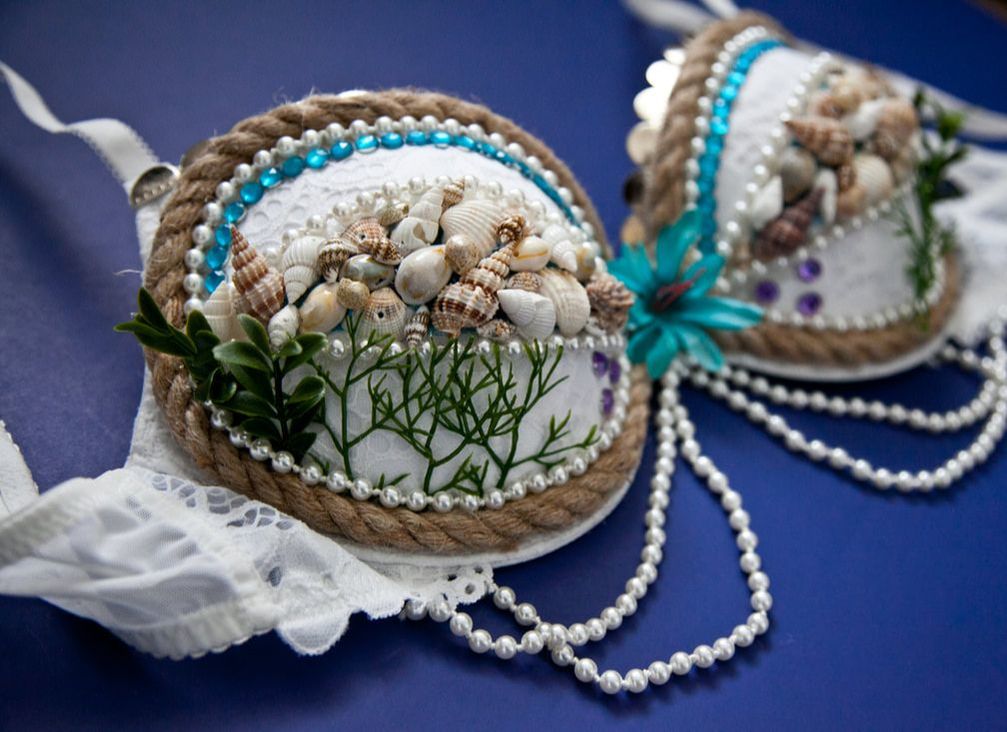
I knew I wanted lots of sea shells, but I also wanted there to be some order to the chaos. So, before I got shell-happy, I glued a line of the pearls in the middle (you could use individual jewels, as well), giving myself a neat and clean barrier. Then, just glue away! The more shells, the better. Wedge them in tightly! Here are the shells I bought:
Since I had leftover pearl strings, I attached them to the bra so that they draped down over my skin. It turned out to be a fun detail! I was fortunate that this bra naturally had holes in the side that I could tie the pearls to. If yours doesn’t, you could glue it and I’m sure it would have the same effect. The plastic “seaweed” and other foliage-type things are also from Michael’s. You buy them by a small bundle and they’re really affordable. Just cut off what you want and glue on. You do have to be careful with hot-gluing these because the plastic will start to melt. Turn your glue gun down to the lowest setting and use the glue sparingly. I found that if I put the glue right on the bra first and waited just a couple seconds while it cooled off before attaching the foliage, it worked perfectly. Just don’t wait more than a couple seconds or it will actually be too dry for it to stick. Hot-glue dries super fast! The flower in the middle is just a silk flower from Michael’s. Just find one that suits your fancy, detach from the plastic stem, and hot glue in the middle. 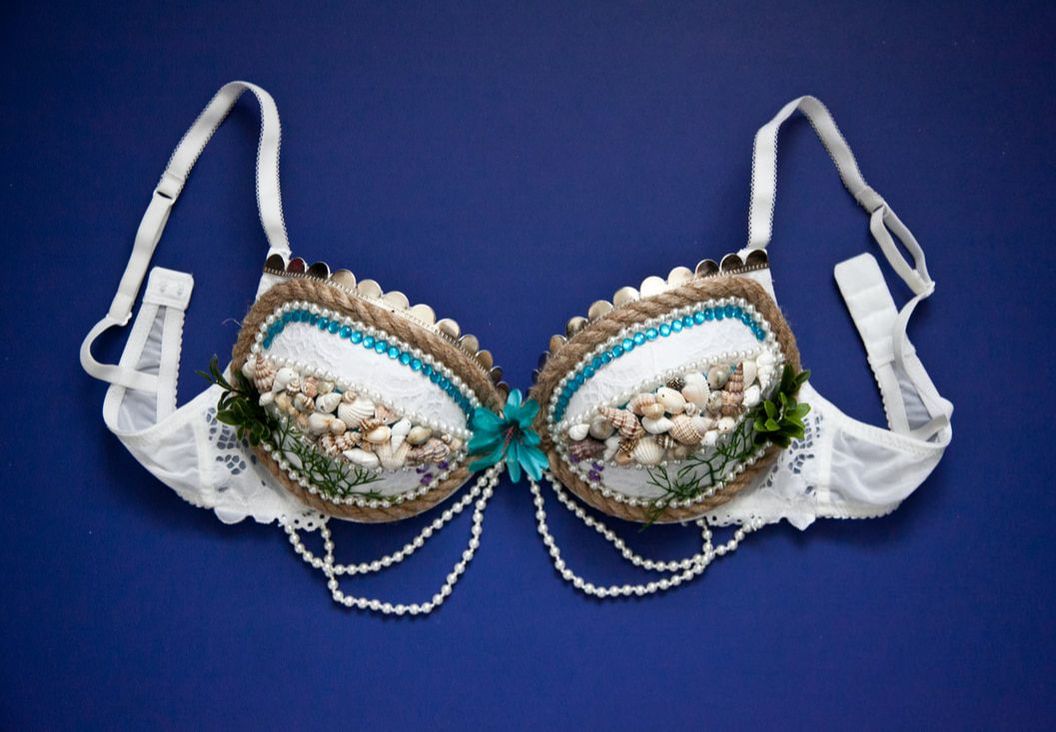
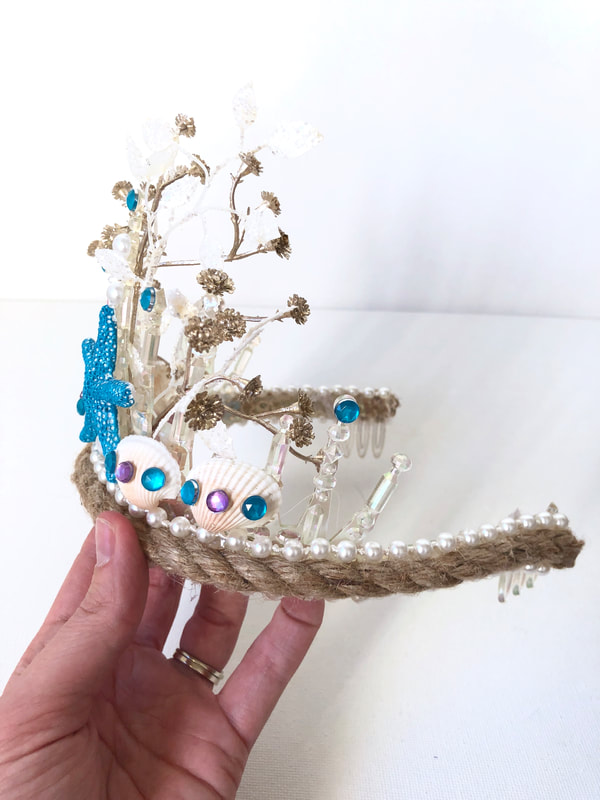
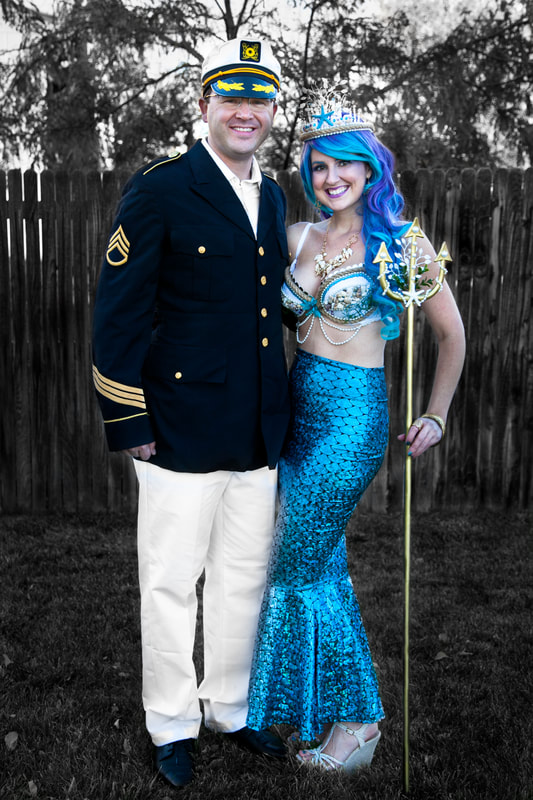
4. the tiara
Why be just a mermaid when you can be Queen of the mermaids?! I thought a tiara would be just the extra bit of sparkle I wanted. Just grab a cheap, plain tiara from anywhere, really, then cover it in shiny stuff! You can go nuts with this and make it as elaborate or basic as you’d like.
As you can see, I lined it with the same rope and pearls from the top to tie it all together, and I also added a couple sea shells and jewels. The shiny foliage is from Michael’s. These fake starfish are adorable and I just painted one to go with my color scheme. Find it here:
It ended up being a little heavy once I added all my flair, so I hot-glued the bottom of the tiara to the wig to keep it in place (you’ll have to do this with the wig already on your head to get the placement right, so I suggest getting help for this one). That ended up being the perfect solution – it didn’t slip a bit all night! 
5. The trident
The trident was actually a plastic devil’s pitchfork that I grabbed from a Halloween costume store and spray-painted gold. It worked perfectly! Once the paint was dry (I had to do a couple coats to cover the original colors completely), I just hot-glued on some jewels. It was so easy and quick! I didn't get mine from Amazon, but it looked a whole lot like this one, before I put my spin on it:
6. the accessories
You can find shell-themed jewelry just about anywhere. My necklace came from Amazon, and I loved it. Here's the set I bought:
7. the sailor!
My husband’s costume was super easy. Just about everything you see here came from a thrift store (even that perfect jacket)! He was glad to have an excuse to surface that old pipe he's had for years. We grabbed the sailor hat from Amazon and he was good to go!

The Captain and His Mermaid definitely ranks as one of my all-time favorite couple costumes! Go make your mermaid dreams come true. Happy creating, friends!!
Comments are closed.
|
CategoriesAbout the author...
Hi, I'm Mandi! Artist, photographer, and compulsive organizer...
Archives
August 2019
Categories |