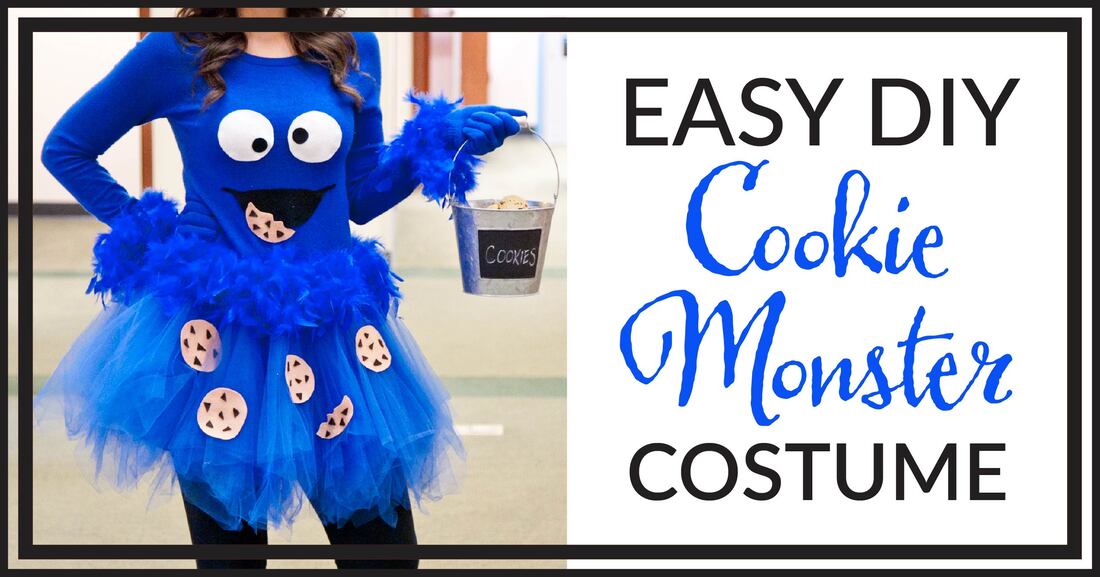
Looking for a quick DIY project that will make you the hit amongst preschoolers? I whipped this up the night before Halloween, when I learned that a crowd of young kiddos would be visiting my workplace for daytime trick-or-treating.
It took me almost no time at all, and the kids absolutely loved it! Just follow these 7 simple steps... 1. Clothes
I already had the sweater, and it was old, so I sacrificed it for the love of a cute costume... but here is good basic shirt I found that would work. Just make sure you select the "royal blue" option before adding it to your cart.
Throw on your black leggings or tights and whatever shoes you prefer, and the basics are done! 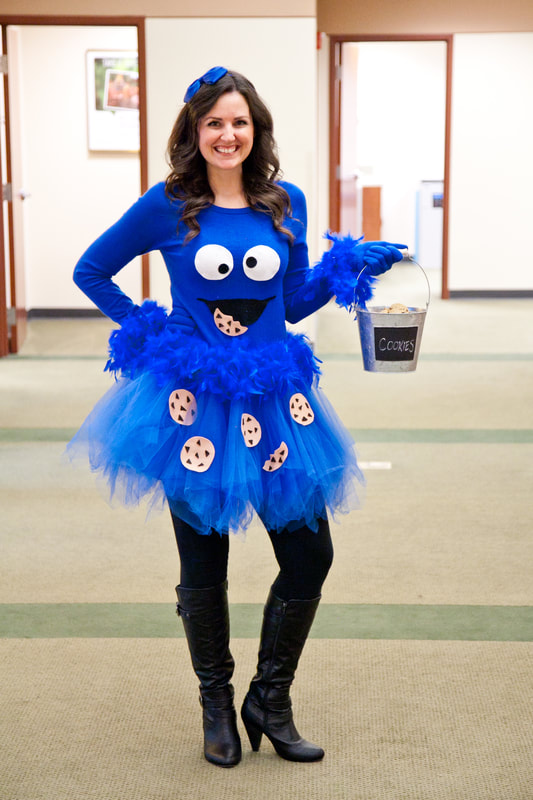
2. Tutu
Again, this should be royal blue. Also, keep in mind that some are completely see-through and some have a liner. I like the ones with liners because they look more finished (and you don't see through them if you're just wearing tights!) . Here is the link to the one I'm wearing in the picture, which I love:
3. Face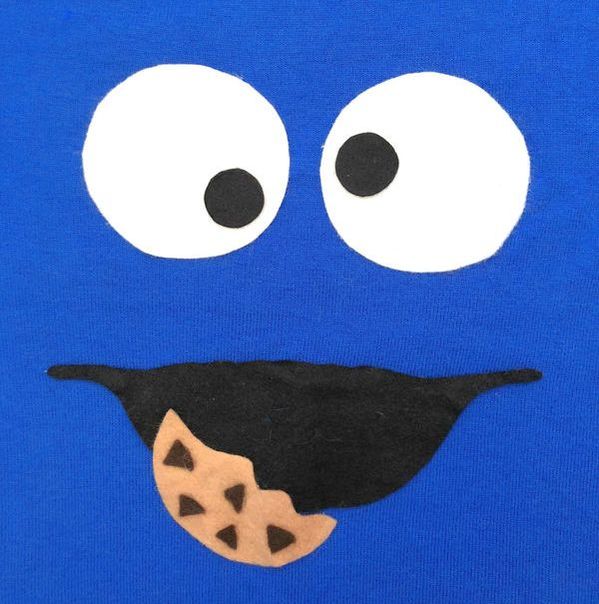
This part is SO EASY. All of those pieces are cut from felt and glued down! Grab an assorted pack of felt, like this one:
Cut two circles from white felt for the eyes (if you need a guide, put a drinking glass down on the felt and trace around it to get a perfect circle). Then two black circles for the pupils. The mouth doesn't even have to have the extra flair that mine does. You could cut a black circle, then cut the circle in half and you'd have a perfectly good mouth. 4. Cookies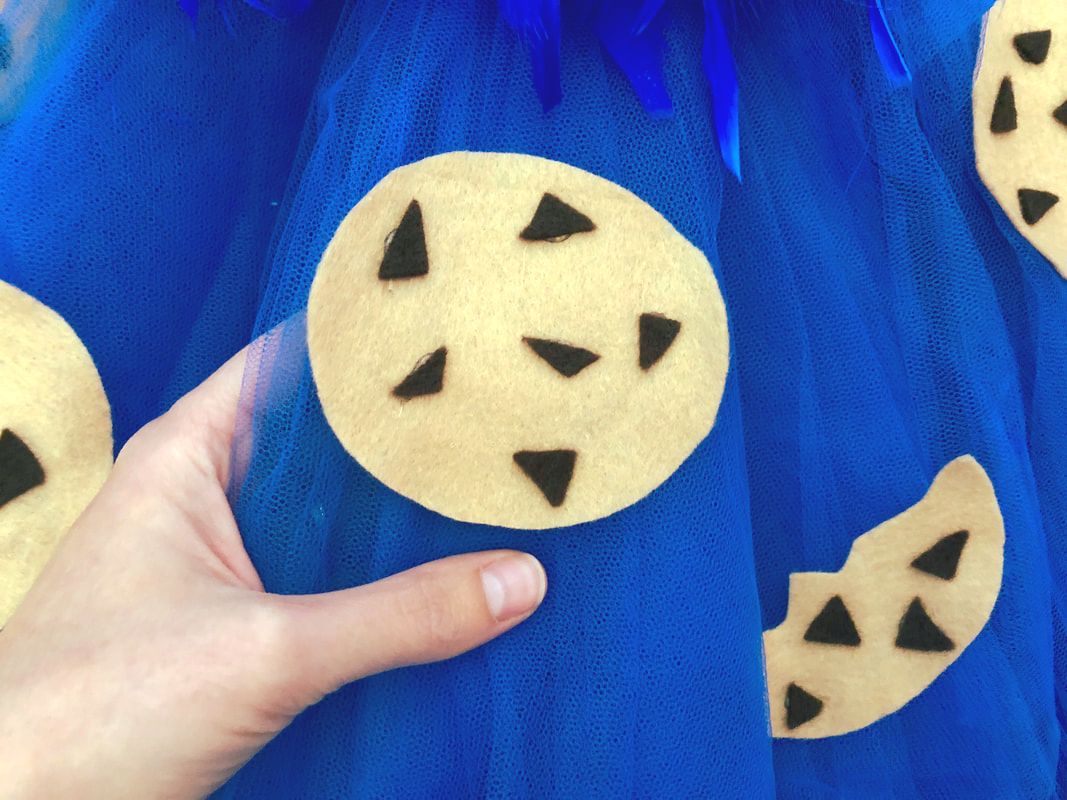
These are way easier than they look. It only took about 30 minutes to do these. Cut out circles from tan felt (again, you could use a glass to trace a circle), then cut out little pieces for the chocolate chips from brown felt. I did triangles, because it was super fast and easy, but you could make them little circles if you want.
Just glue each chip onto the cookies with hot glue, then each cookie onto the tutu, and you're done! As you can see, I cut a couple of them to look like they were bitten, and glued one to the mouth. Super cute! 5. Gloves
Gotta have gloves to complete the monster look! These are perfect:
6. Feathers
Adding a feather boa gave it a little something extra that I thought was cute. Beware that it will shed a bit, (it looked like someone in our bank had killed a blue chicken, and the trail led right to my office!) but I think it was worth it!
Just grab a feather boa, hot glue it around the waistband (make sure you have it stretched out while gluing to allow room to get it on. I glued it while I was wearing it, to make sure I got it right). Cut off the excess and glue the extra to the sleeves. Here's a link to a good one (and as the reviewers say, I will agree that you should open the box outside and shake it off first, to reduce the amount of shedding in your house). 7. Cookie Bucket
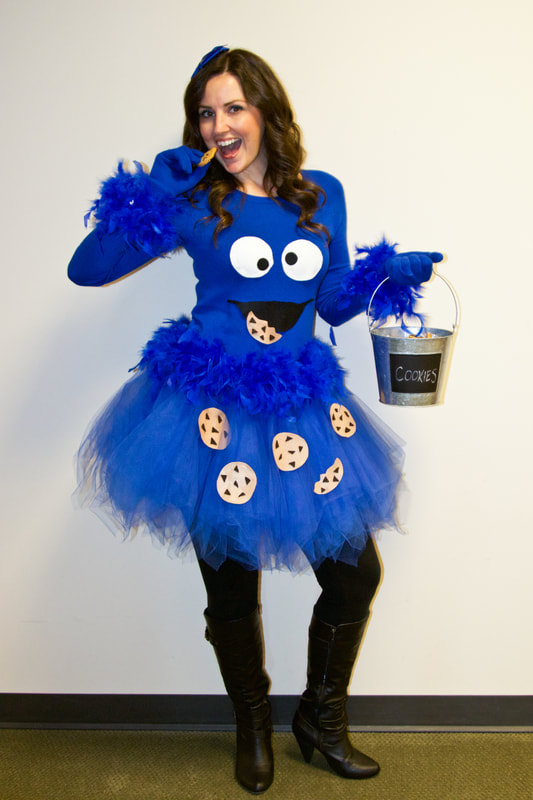
I thought this was a super fun touch! Grab a bucket and carry around cookies with you all day (my co-workers loved that)! I'm a big fan of extra hand-held accessories and I think it adds a lot to the costume, especially when taking cute photos. I love that this one had a chalkboard label that I could customize, but it would still be cute without it. I found mine at Walmart:
https://www.walmart.com/ip/Elegant-Expressions-by-Hosley-Metal-Pail-With-Chalkboard/44448097?athcpid=44448097&athpgid=athenaItemPage&athcgid=null&athznid=PWVUB&athieid=v0&athstid=CS020&athguid=466001f5-16f6c186-845f7f68e82579ed&athena=true 8. Hair Bow
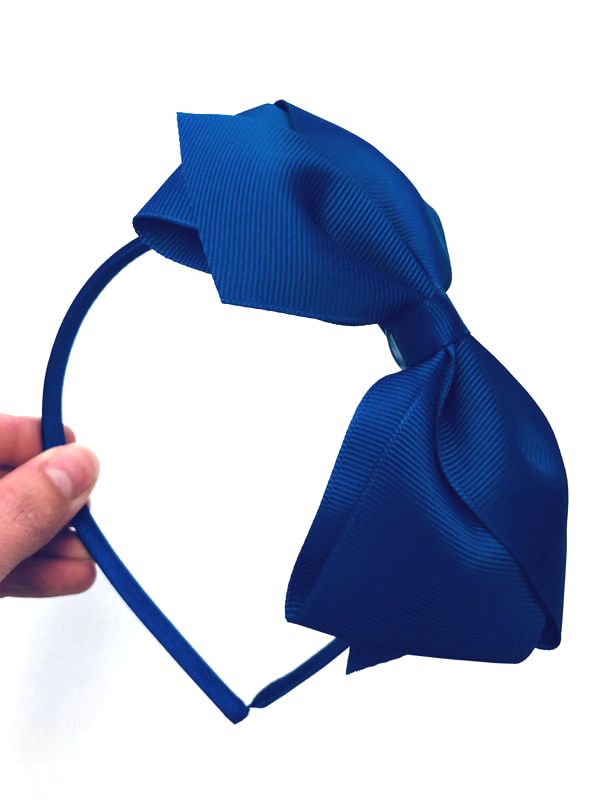
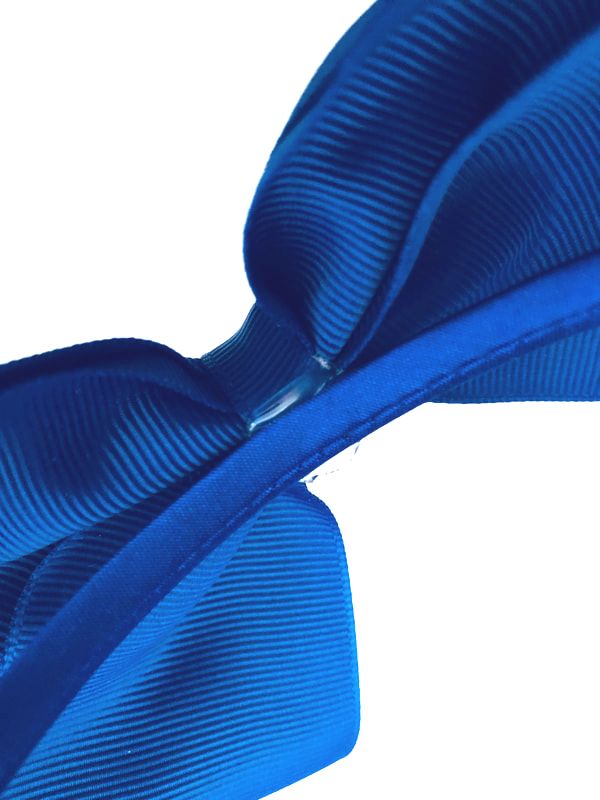
I couldn't find just a royal blue bow on a headband the way I wanted, so I just went to the craft section of Walmart and bought a bow and a headband separately and hot glued them together. Super simple!
So there you have it - a super simple costume you can throw together in no time! The kids will love it, but the adults will inevitably have some fun with it, too. As you can see here...
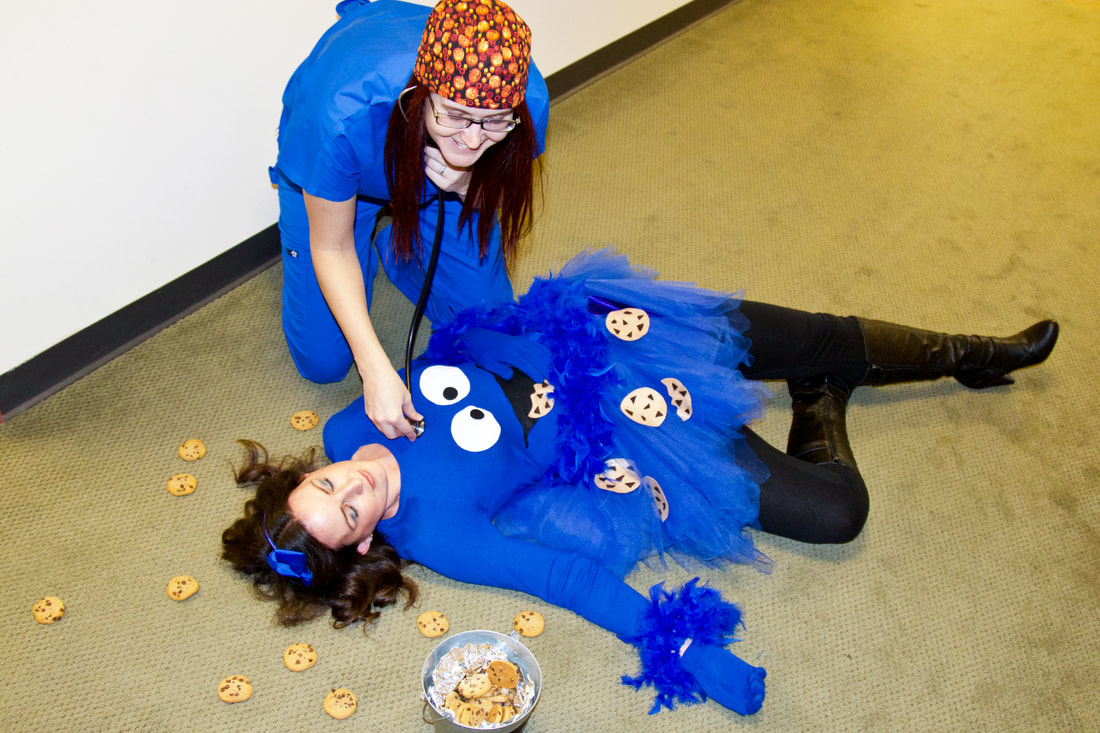
Happy creating!!
Please note that this post contains affiliate links. At no additional cost to you, I earn a small commission if you make a purchase, which helps support this website. All opinions are entirely my own.
Comments are closed.
|
CategoriesAbout the author...
Hi, I'm Mandi! Artist, photographer, and compulsive organizer...
Archives
August 2019
Categories |